You will have a lot of chances to make a small mistake what may yield in a damage of your UAV or even worse in involving people, animals or non-cash assets. Check your risk - implement a double check system while planning and performing autonomous flight missions. Operating (autonomous) UAVs is in the full responsibility of the pilot.
Keep cool - keep alert!
UAV Mission Planning - Practical Workflow
The open UAV community is focused on the PixHawk autopilot unit and the MissionPlanner, or more recent and platform independent, the QGroundcontrol software. Both are well documented and provide APIs and easy to use GUIs. Nevertheless they are missing some planning capabilities like a high resolution terrain following flight planning or dealing with battery-dependent task splitting and save departures and approaches within the splitted main tasksor exporting the tasks to DJI compatible format yet. Other commercial competitors like the extremly powerful ugcs are cost intensive and/or fairly complex applications which are not handy as a lightweight planning facility.
Basic mission planning workflow
This tutorial deals with the effective and safe planning of an autonomous flight. This provides basic information about the used hardware and software as well as supplemental data and nice to haves. The basic workflow of planning a good aerial and target oriented flight mission. In the extended version you find some more explanations and hints for improving your planning.
Things you need
- Digital Surface Model Account needed.
- QGroundcontrol
- Step by step tutorial.
- Airmap (Use it with the provided Google account) easy to use application
- flynex (Use it with the provided Google account) complex, professional application with a maximum of support
General Workflow
- Identify the area and digitize it
- Adjust the flight parameters to your needs and generate flight control files
- Convert and upload the mission control files either directly to your tablet/smartphone or alternatively via the
Litchicloud. - Make an extensive pre-flight check
- Fly the mission
Aim of the tutorial
The example will introduce you to the basic usage of QGroundcontrol and uavRmp.
The goal is to create flight plans for surveys over high relief energy surfaces/terrain to generate orthophotos and point clouds.
Digitizing the survey area using Qgroundcontrol’s survey feature
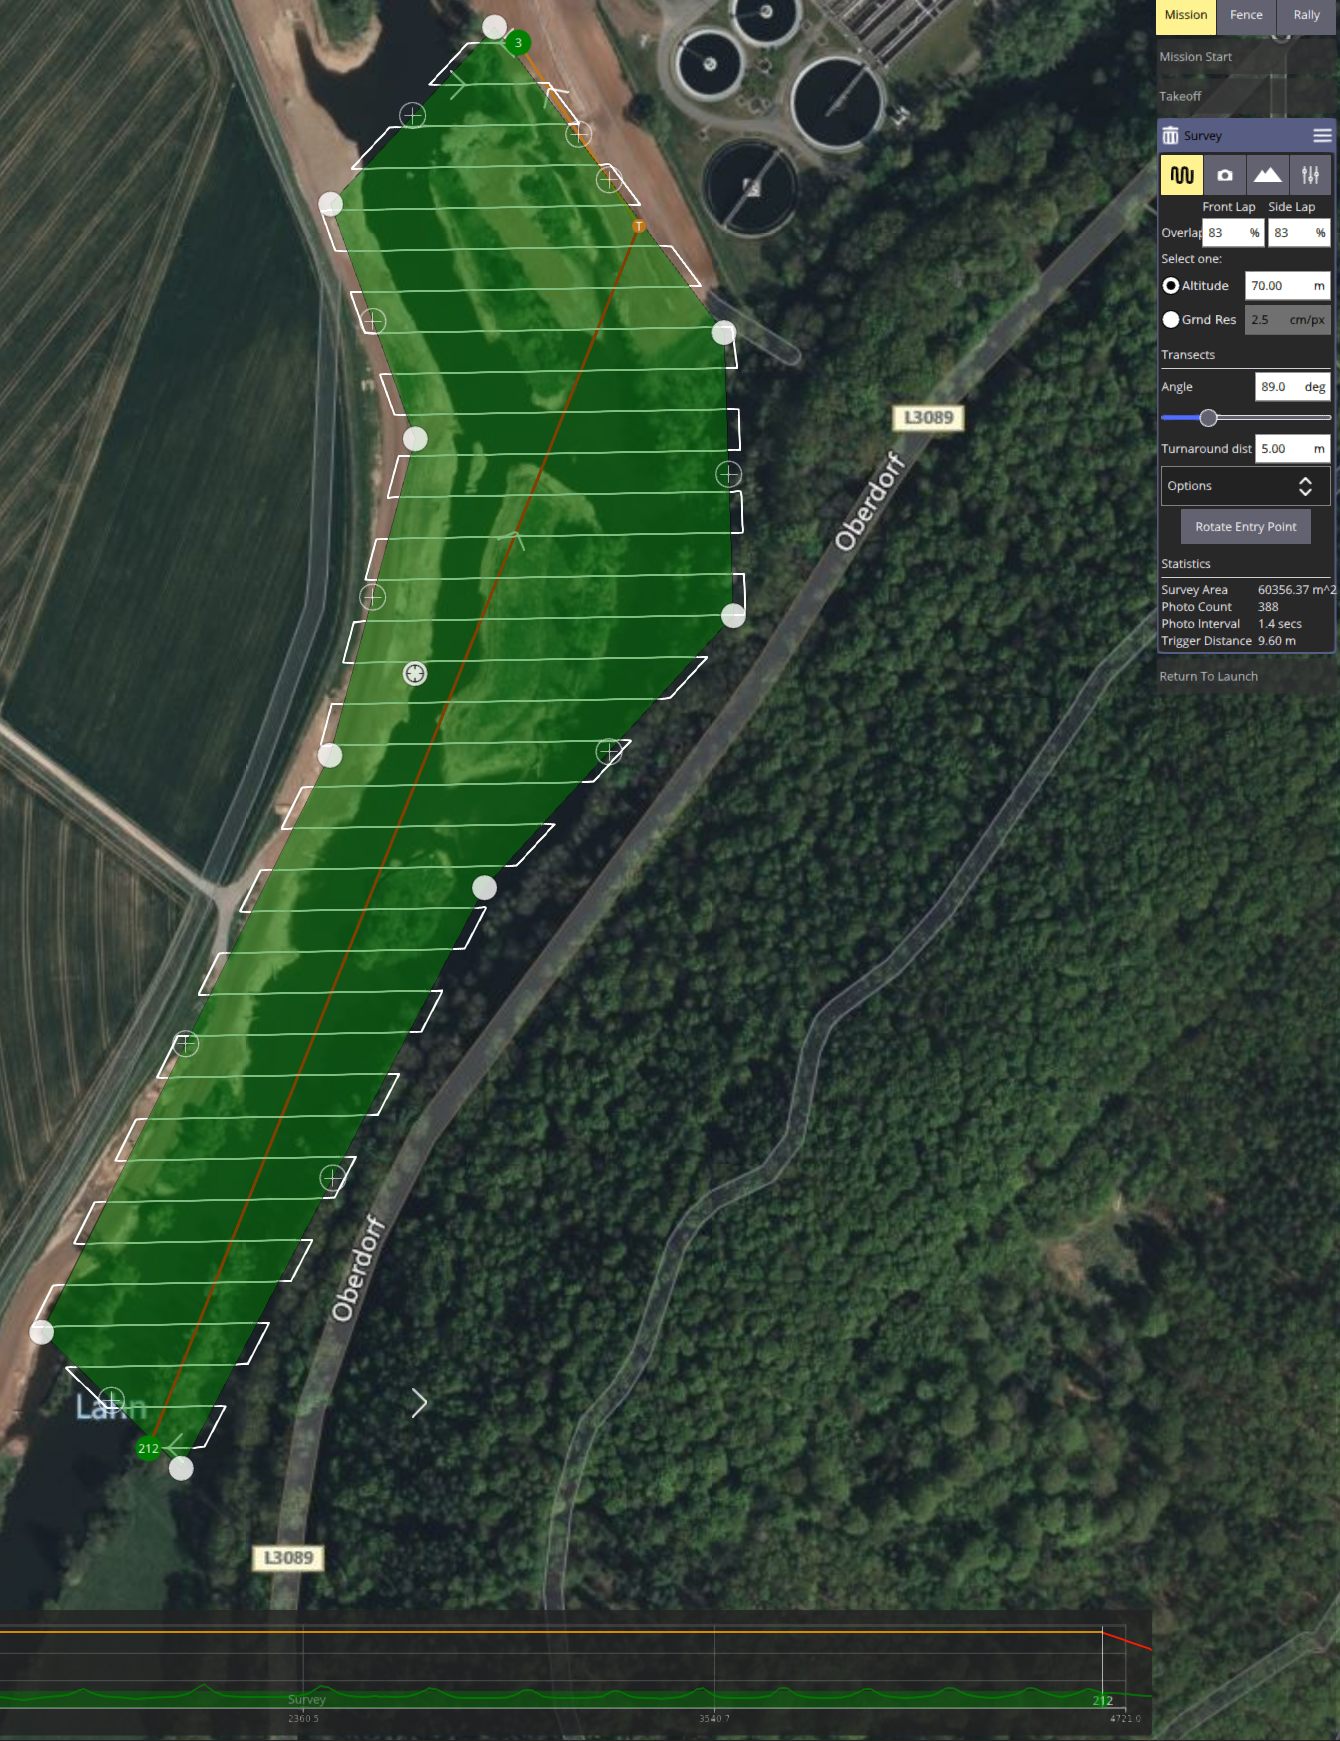
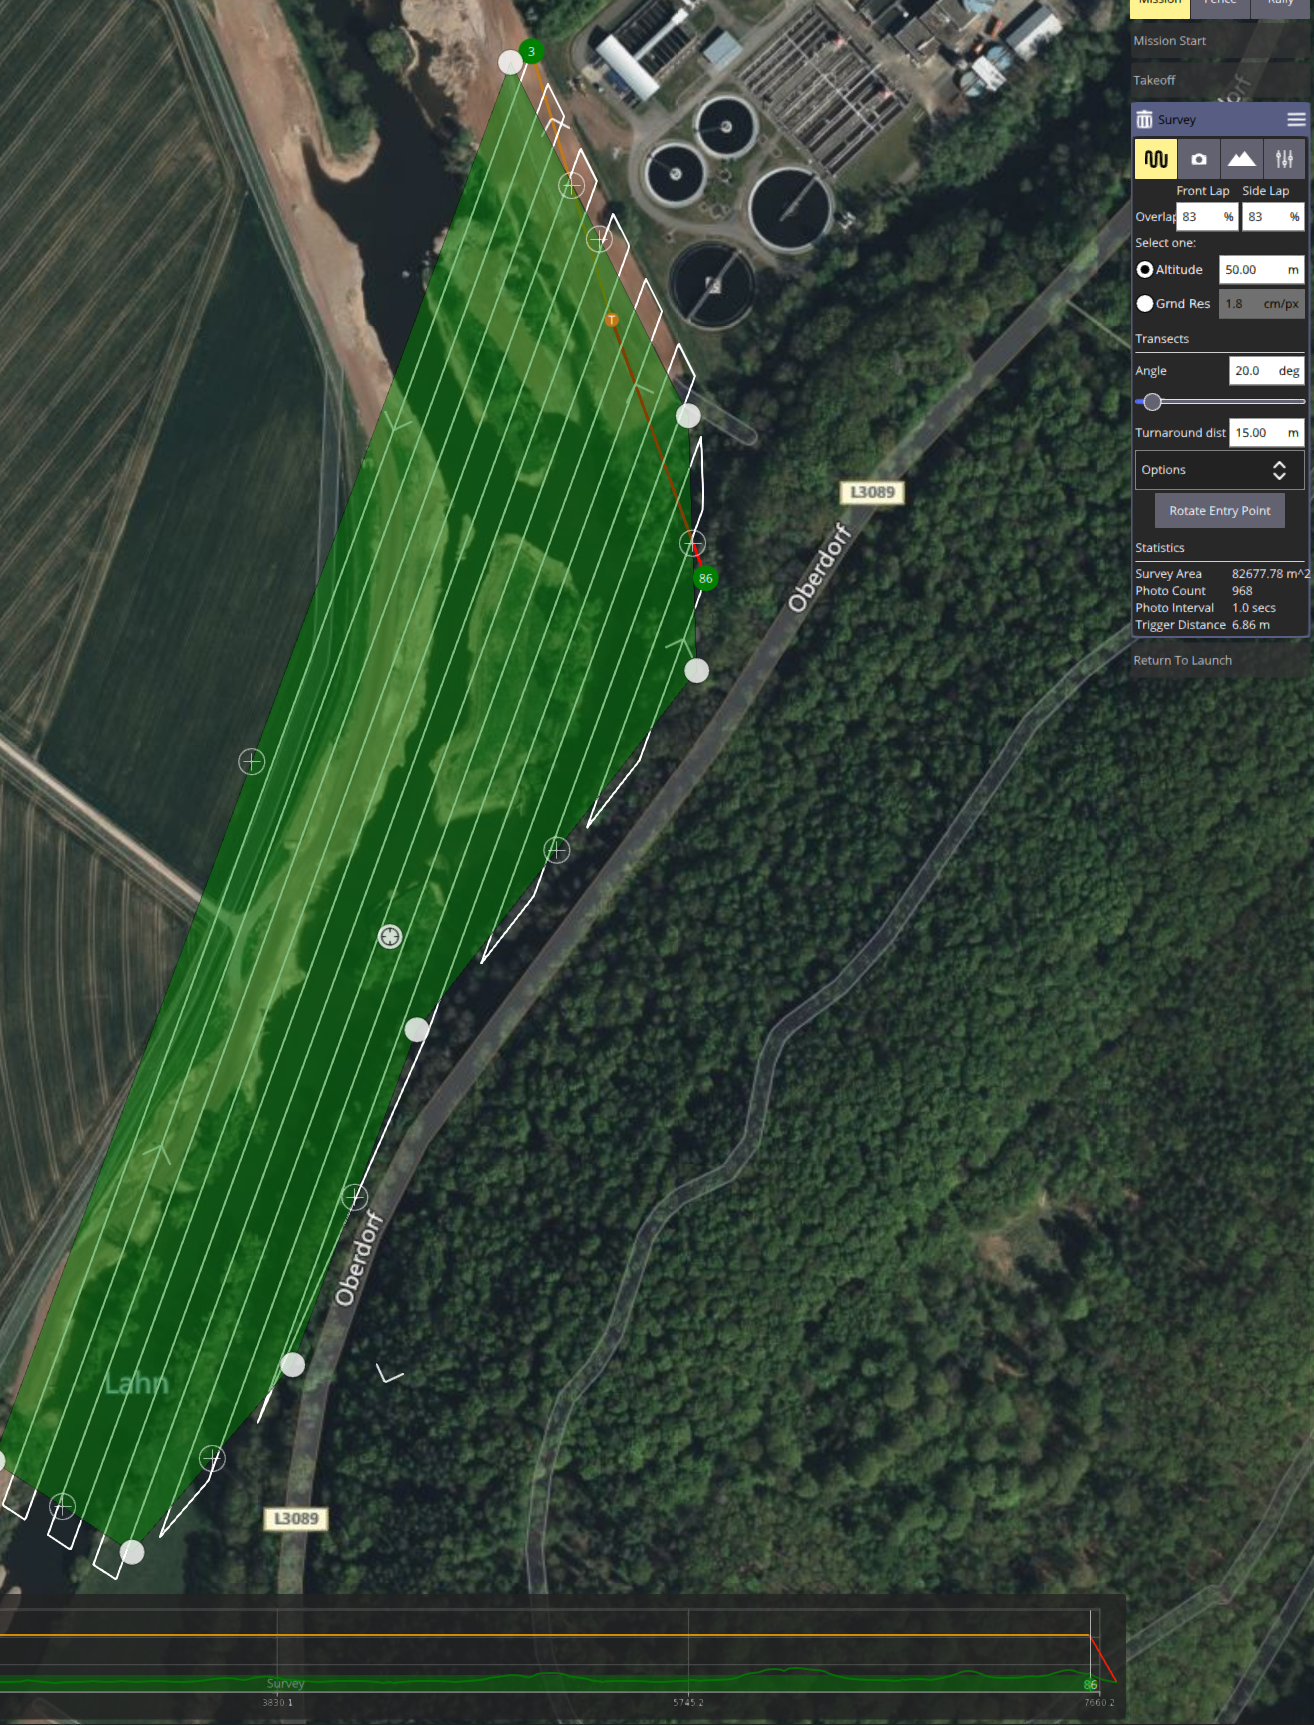
We want to plan a flight in a structured terrain in the upper Lahn-valley. Start the QGroundcontrol and navigate to Mission tab and open Pattern->Survey. Start digitizing a pattern as you want and also fill in the values on the right sided menus for camera angle overlap and so on.
You will produce much better results when you do both, capturing images from different above ground levels (AGL) and different capturing angles. This can be realized by two different plannings. A bit more complicated is the to control the gimbal angle. It will also improve your products if you take nadir (straight down) and non-nadir (at an angle) images. That means a cross pattern flown at two different altitudes with varying nadir angles is much better than a single-nadir-only-one pattern flight. To avoids horizon takes (which of course can be epic) you should not take pictures with a Nadir greater than roughly 5 to 10 degrees.
During planning, observe all airspace and protected area regulations. This is not only a legal issue, but also a matter of maximum safety. So just comply and do it.
LBA Legal Stuff BMDV Cheat Card
If you use a Pixhawk device you are fine now.
Specific settings for DJI Cameras
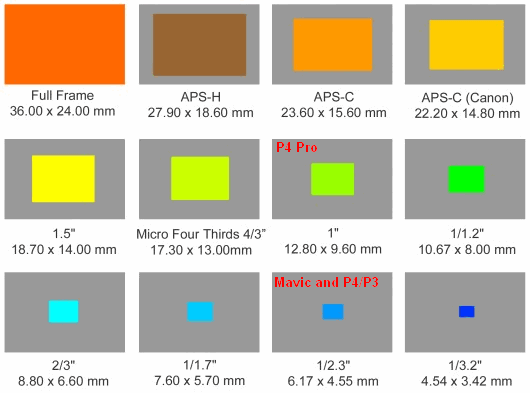
To derive a valid planning we need to calculate the correct camera parameters. Typically camera parameters are standardized to the 35 mm full frame sensor format. The DJI Mini 2 sensors have a size of 1/2.3 inch. For an impression have a look at the below figure. Note the default setting of most of the point and shoot cameras is 16:9 - this will change the sensor size due to cutting a part of the height.
Real Focal Length Can be calculated approximately by dividing the eqiuvalent focal length by the corresponding crop factor.
rF = eFL / cf

eFL = equivalent Focal Length
cf  = crop factor
rF = real Focal Length

For the Mavic Mini 2:
rF = 24/5.6 = 4.285714
rf = 4.3
According to this the camera specs for the DJI Mavic Mini 2 are:
Image Size: 4:3: 4000×3000
- Sensor Width: 6.17 mm
- Sensor Height 4.77 mm
- Focal Length: 4.3 mm
Image Size: 4:3: 4000×2250
- Sensor Width: 6.17 mm
- Sensor Height 4.56 mm
- Focal Length: 4.3 mm
You may also use the Depth of field calculator to estimate the minimum distance of the camera to the target.
Conversion of the flightplan for Litchi compatible DJI devices to carry out the conversion to the Litchi format.
Conversion of the flightplan for Litchi compatible DJI devices
The R package uavRmp tries to bridge this gap. It generates MAVLINK format compliant mission files that can be uploaded to the Pixhawk controller via any Ground Control Station software. In addition it exports or converts plannings to the Litchi format which can be used for DJI drones.
Installation of R and the uavRmp
First of all you need to install the scripting language R an preferably the Integrated Development Environment (IDE) Rstudio. You will find a step by step tutorial at HowTo install R & RStudio. Alternatively you may use the rig - R installation manager. Then follow the instructions at the uavRmp homepage and install the package. Check for the most recent version. However you can install the latest stable version from CRAN.
install.packages("uavRmp")
To install the cutting edge (highly recommended) version you should take it from github. You need to have installed the devtools package. Please also install the latest GitHub version of the utility package link2GI.
install.packages("devtools")
devtools::install_github("gisma/uavRmp", ref = "master")
devtools::install_github("r-spatial/link2GI")
Calling makeAP from the uavRmd package
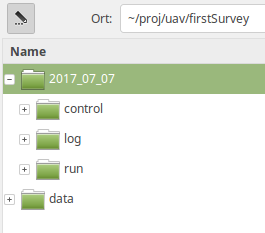
There are a lot of optional arguments available that helps to control the generation of an autonomous flight plan. In this first use case we keep it as simple as possible. First we will focus the arguments to organize the project. All results will be stored in a fixed folder structure. The root folder is set by the argument projectDir. e.g. ~/proj/uav. The current working directory will then be generated from the locationName and is always a subfolder of the projectDir. So in this case it is set to firstSurvey. The resulting folder for a specified location in a specified project is then ~/proj/uav/firstsurvey. According to the date of planning the following subfolder structure is set up. The log files are saved in the log folder the temporary data sets are stored in a folder called run.
The mission control file(s) are stored in a folder named
control.
Please check the folder structure according to the figure below.
Explanation of the used arguments
- useMP = TRUE is the switch to activate and QGroundCOntrol or Missionplanner task file
- demFn = filenameDEM set path and file name to the used DEM
- surveyArea = filenameFlightarea set path and file name of the QGroundControl flight plan
Please note below you will use demo files from the package. To change it just put in the path and name of your DEM and planning file.
library(uavRmp)
# get example DEM data
 filenameDEM = system.file("extdata", "mrbiko.tif", package = "uavRmp")
 filenameFlightarea = system.file("extdata", "tutdata_qgc_survey.plan", package = "uavRmp")


fp = makeAP(projectDir = "~/uav",
        useMP = TRUE,
        surveyArea = filenameFlightarea,
        demFn = filenameDEM,
        cameraType = "dji43",
        uavType = "dji_csv")
The script generates:
- R objects for visualisation
- log file(s)
- flight control file(s) for running a mission on DJIs
All of them are important even if a quick inspection of the generated objects is the maxFlightTime which rules the length of the single flight. The log file dumps all important parameters of the calculated mission.
For a more comprehensive tutorial please check Mission Planning on basis of QGroundcontrol
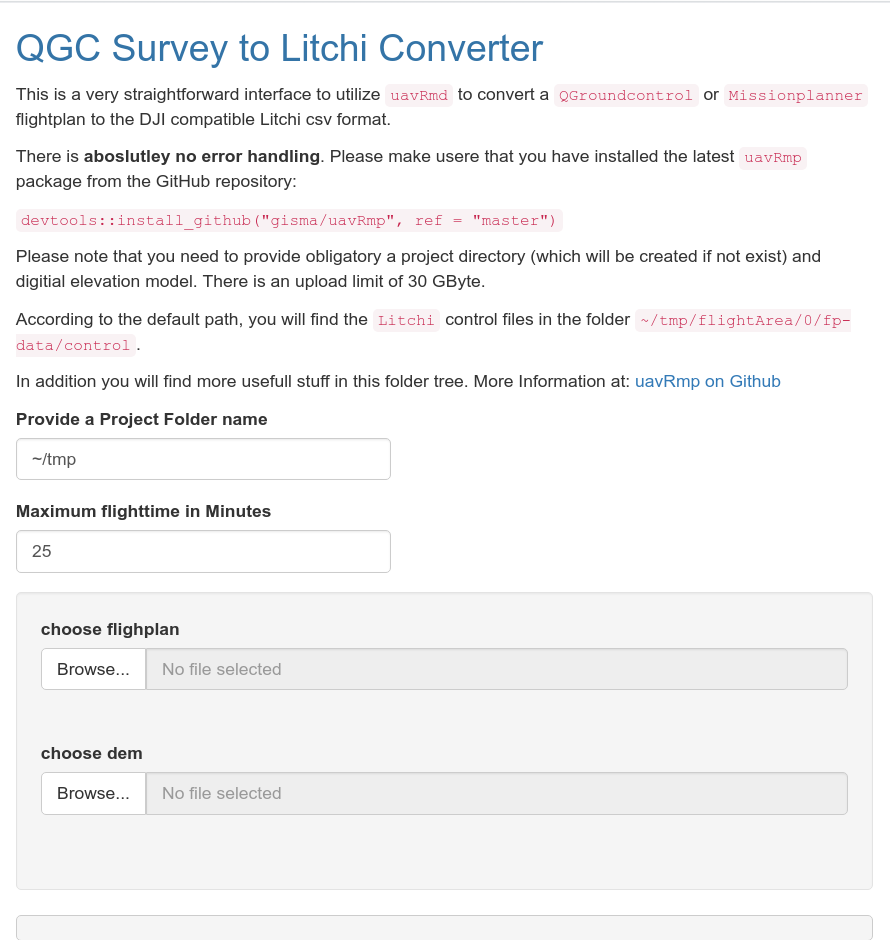
If you just want to convert fight plans from GroundControl to Litchi You may also use the shiny GUI:
library(uavRmp)
library(shiny)
runApp(system.file("shiny/plan2litchi/", "/app.R", package = "uavRmp"))
Just navigate as requested to the files and check the output. Be patient it may take a while.
After checking the files you should import the control file to the Litchi Hub. You need an account. During the course the account and Litchi Software is provided via Ilias.

