
Goals
After creating the modeling environment using OSM data, aerial image data and planning data, the QGIS plugin Converting Geodata to Envimet was used to create corresponding model environments for the planning and the actual situation. On this basis, idealized model runs are to be carried out. In this context, idealized means under simple meteorological conditions that represent an exchange-weak radiation situation.
Things you need
- Course Data Server You will find here all kinds of data, literature and tutorials
- ENVI-met software
- Current LTR Qgis Installation
- Installation of Plugins
- Geodata to ENVI-met
- OSMDownloader
- QuickOSM
- Installation of Plugins
- Envi-met Hasenkopf GIS and Modeldata
Assignment
Setup an run an full simulation for the Hasenkopf
Hands on - Start a simulation
- Unzip the ZIP archive and open the included QGIS project (hasenkopf_core_plan_orig.qgz). We are working in the core_area_new area. See the corresponding grouped folders.
- orig for the current situation
- plan for the planning
- raster for raster data
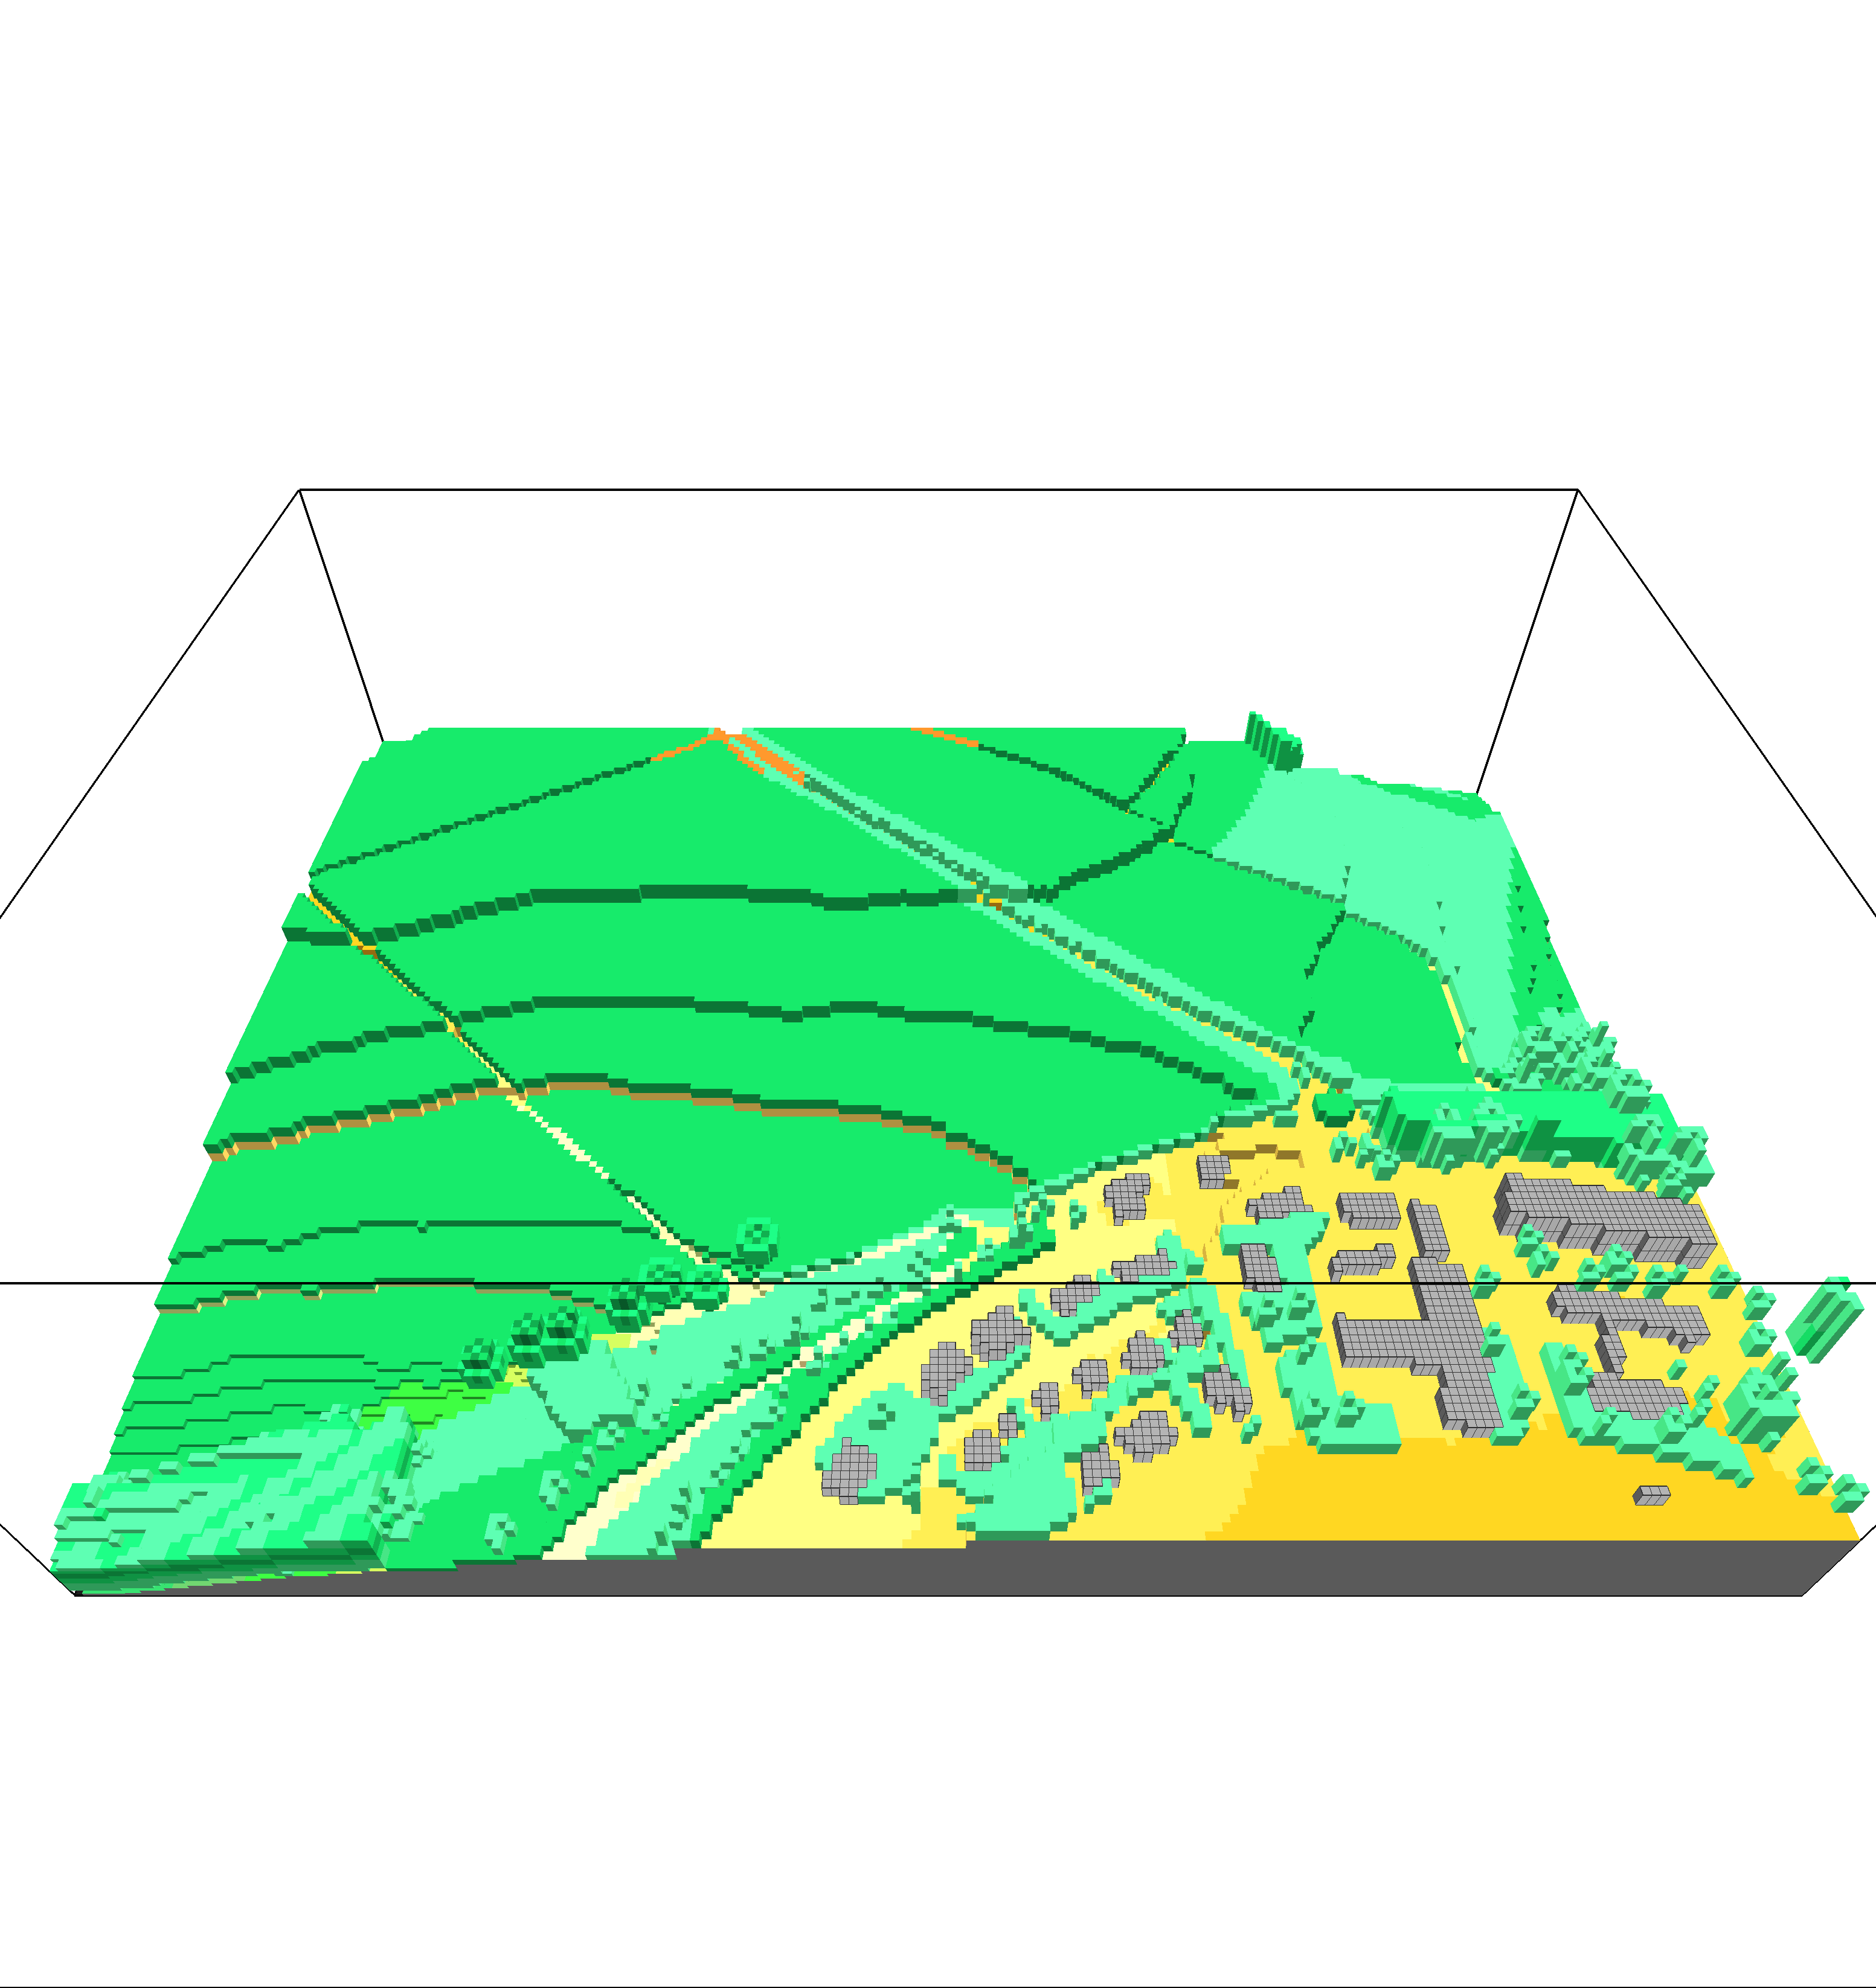
- Familiarize yourself with the files. They are grouped according to the Envi-met logic. Each of them contains vegetation (simple/3D), buildings, surfaces/soils and the terrain model, in addition receptors that can be understood as measuring stations in the model area and the already mentioned model area itself.
- For the first simulation, the Envimet Plugin is started and the data from the original folder is assigned. The DGM is used as the DEM. Note: Enter the
ENVIMET_IDas a reference field for the library values to be read. - Save the models and check it for errors using the Envimet Spaces module.

Everything OK?
- Then start the Envi_met tool Envi-Guide and set up a simulation environment for July 21, 2024 that will run for at least 36 hours.
- Save and start the Envi-Core module. Open the created simulation and start it…
In the archive subfolder envimet_files you will find the simulation and model files for both runs. You can use these to compare with your own files.